
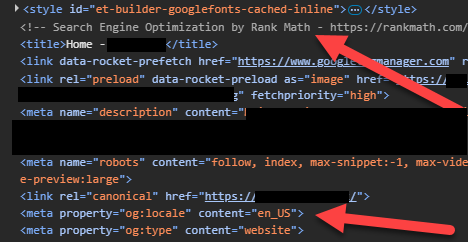
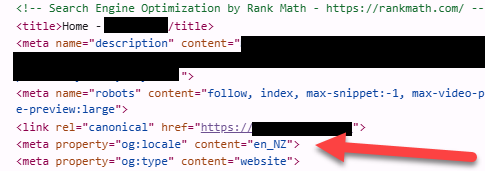
During a recent audit with a client in New Zealand, I noticed that their Open Graph language setting was set to en-US, and recommended they update it to en-NZ. Not a world-ending issue, but one I wanted to fix. Here’s what it looked like:
The developer looked into it and circled back to say they couldn’t do it. Turns out that they were using the WordPress plugin Rank Math SEO, which, bewilderingly, does not allow this. If you go to the language settings (Rank Math SEO -> General Settings -> Content AI -> Default Language):
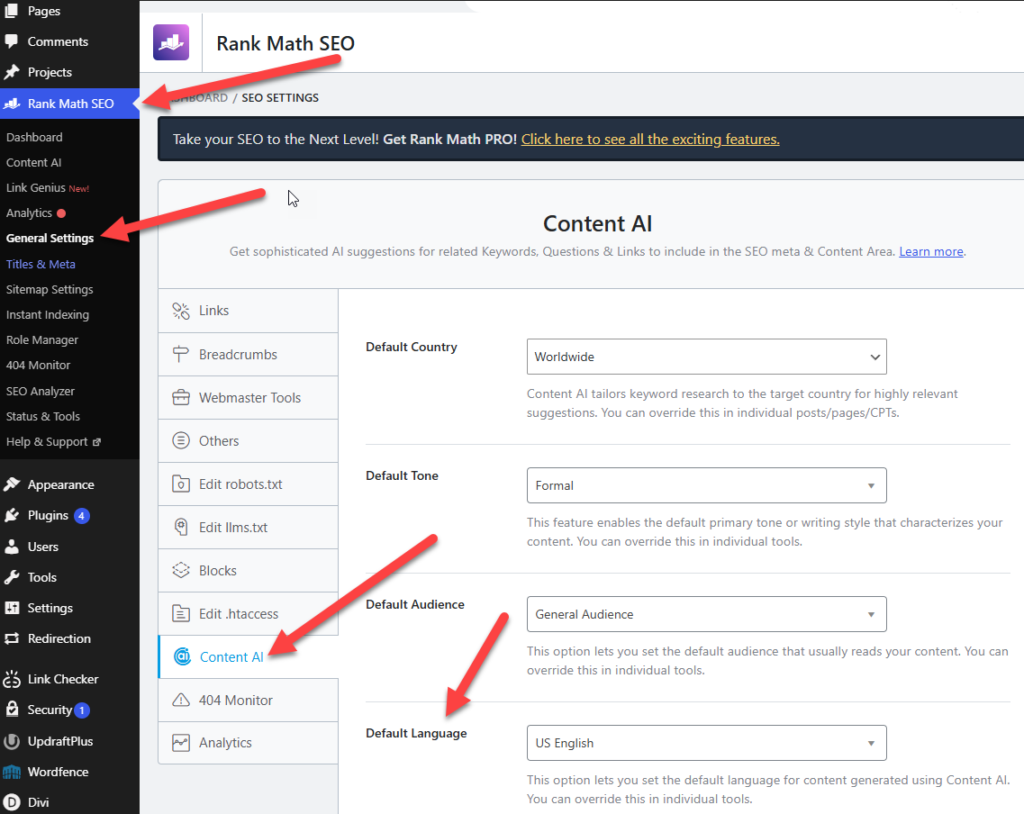
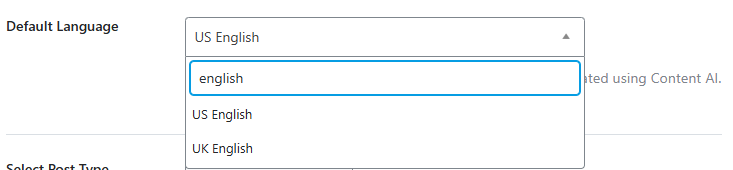
You’ll find that Rank Math only allows you to select US English or UK English – and doesn’t seem to allow you to add a custom language setting.
… so how now, brown cow?
Setting A Custom Default Language In the WordPress Rank Math Plugin
There doesn’t seem to be a workaround within Rank Math, but worry not. This is easier than it might seem, if you follow these steps:
Step 1: Create A Custom PHP File
Open Notepad or a similar plain-text editor (avoid Microsoft Word, since it applies formatting), and paste in the following code:
Save the file as rank-math.php.
Step 2: Upload The File To Your Theme
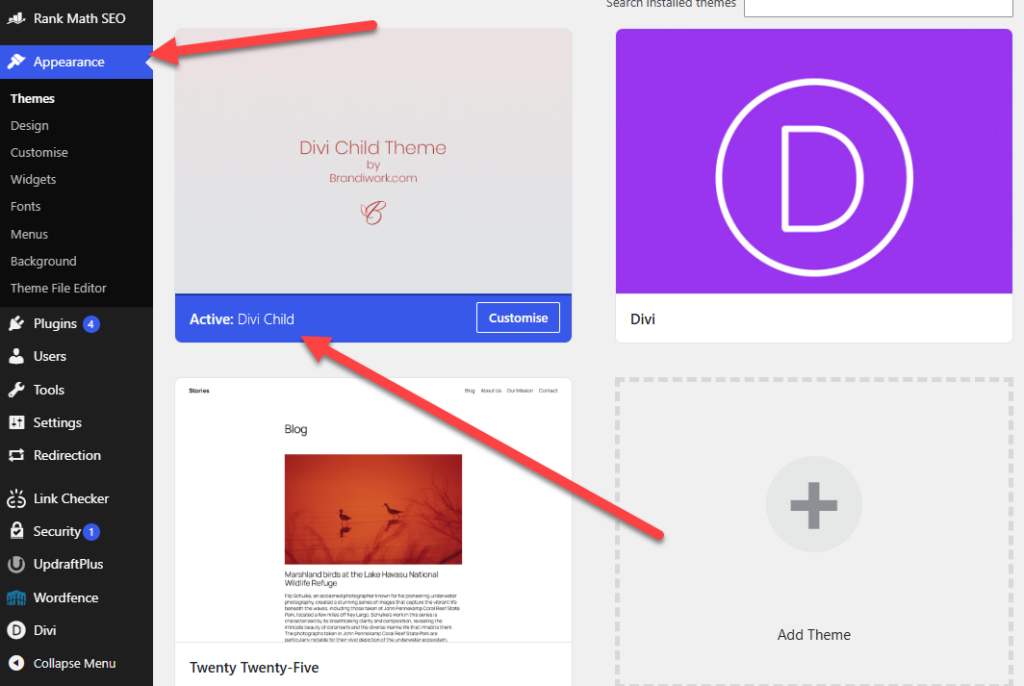
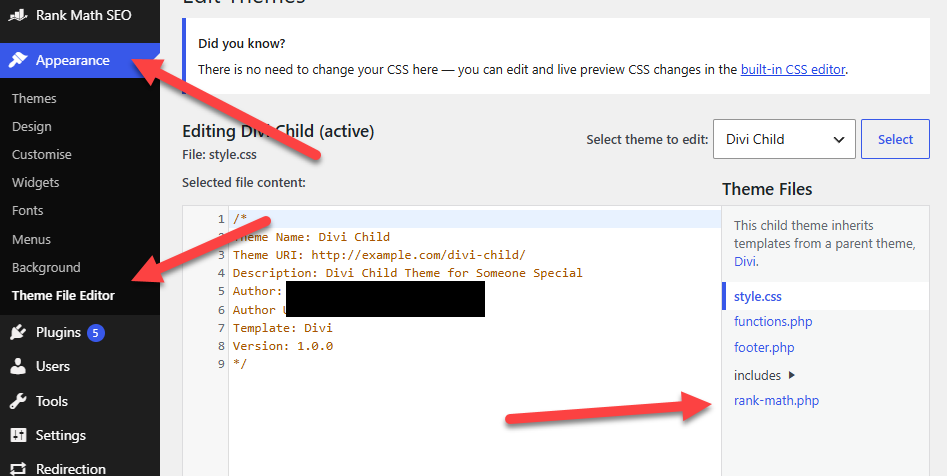
Log into your hosting or use a WordPress File Manager Plugin, then upload the file to your active theme folder. In my case, the client was using Divi Child, so I dropped it in /public_html/wp-content/themes/divi-child. If you’re not sure what your theme is, you can find it under Appearance in the menu, as shown below.
You can confirm the file was uploaded successfully by checking the Theme File Editor.
You’re pretty much all set at this point, but if you want to confirm the file was uploaded correctly, you can go to Appearance -> Theme File Editor. Under “Theme Files”, you should see rank-math.php listed.
Step 3: Confirm It Works
If you’re still logged into WordPress, you should be able to view the source code and confirm that the language value has changed:
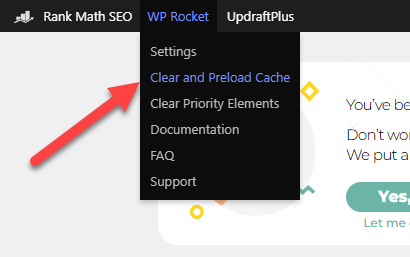
If you have a plugin that is caching your page, such as WP Rocket, or you’re caching some other way, you might not see the change immediately on the live site. In the case of WP Rocket, you can clear the cache by clicking on the menu item below. Easy peasy.
And that’s it! Let me know in the comments if you have any questions. Glad to do my part to help.
Leave a Reply