
Tools like Screaming Frog are a great way to scan your website for broken links, and tools like Ahrefs are great for finding broken backlinks. But for many businesses, tracking 404 errors in real time can be more challenging.
Using Google Tag Manager (GTM), you can send an event to Google Analytics 4 (GA4) that records when a page’s title matches your 404 page’s title. The event can record the URL of the page and the referral page (when available), which can be highly valuable for troubleshooting. If you also set up an audience and custom insight around this event, you can even be notified by email when an issue arises.
Let’s dig in.
Step 1: Set Up Tracking In Google Tag Manager
This setup involves creating three key pieces – a custom variable, a trigger, and a tag (in that order).
Create A Custom Variable
From your account, on the left-hand side, click “Variables”.
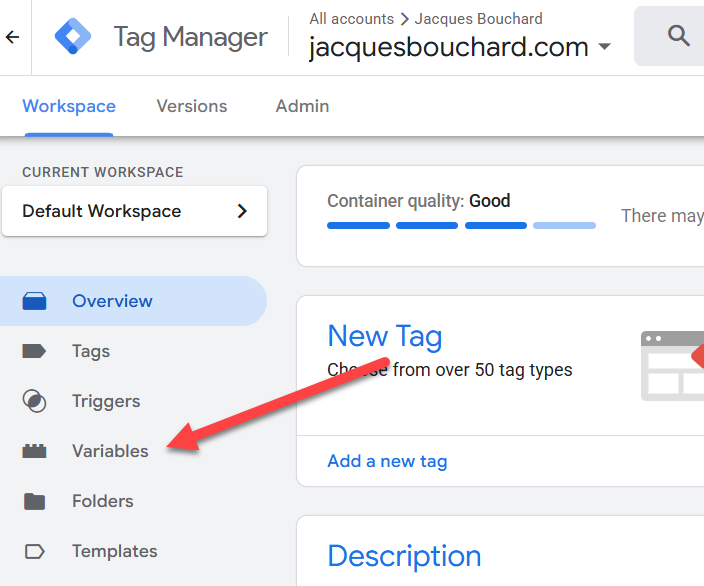
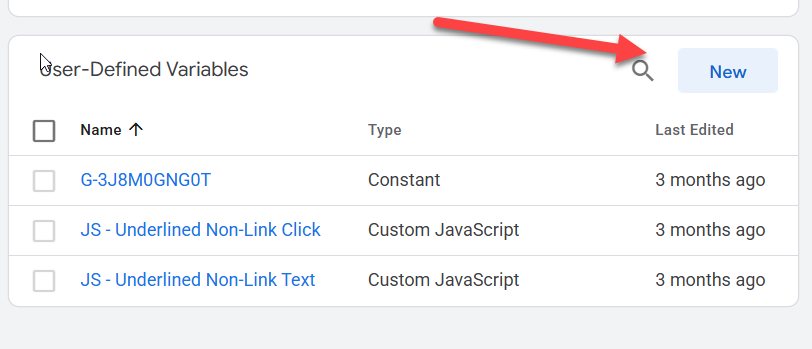
Then, scroll down to User-Defined Variables and click “New”.
Name your variable “JS – Page Title”.
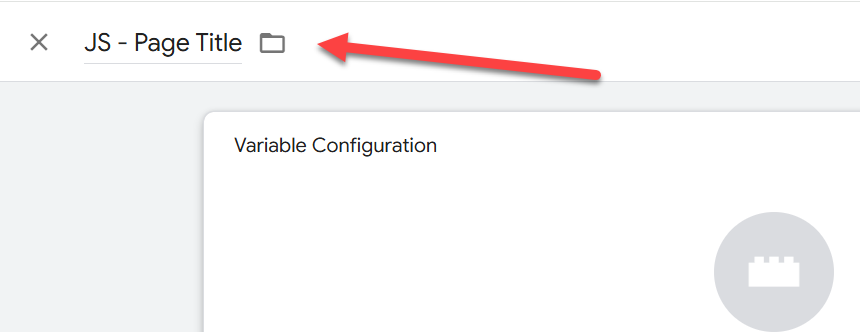
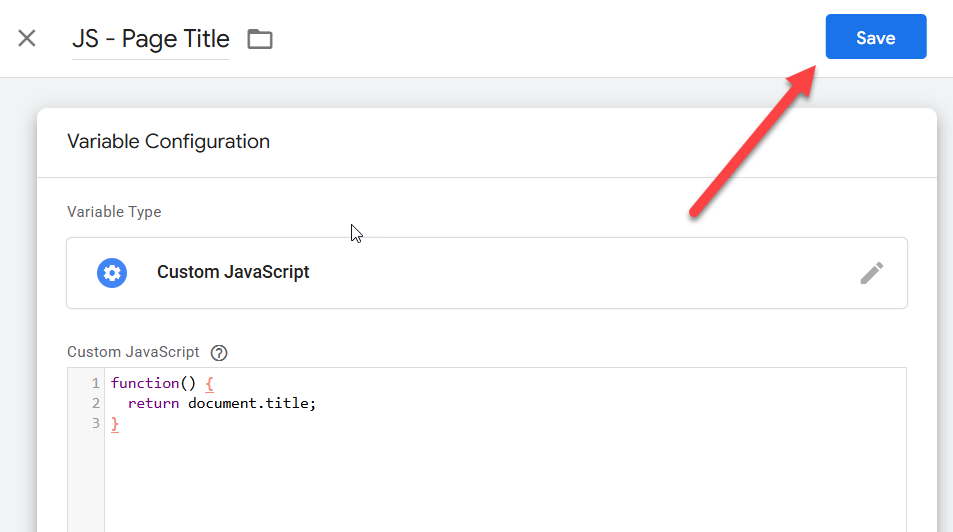
Click on the gear icon, then click “Custom JavaScript”.

Paste in the following code:
function() {
return document.title;
}
Click “Save”.
All set! This was the hard part.
Create Your Trigger
Next, on the left-hand menu, click “Triggers”. Click “New” on the right.

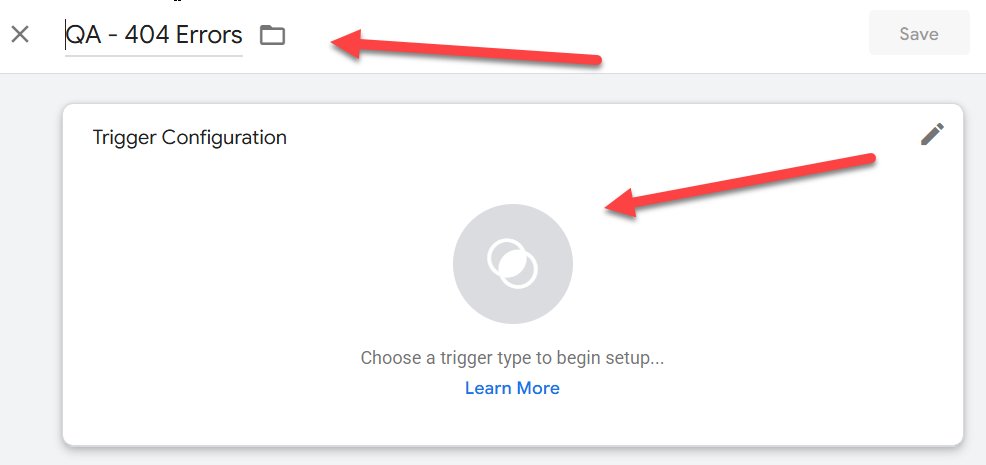
Name your trigger “QA – 404 Errors” and click on the Venn-diagram icon in the center.
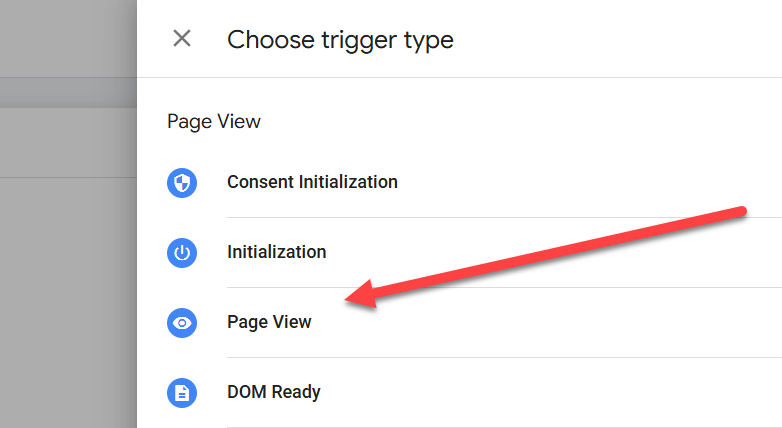
In the menu that appears, select “Page View”.
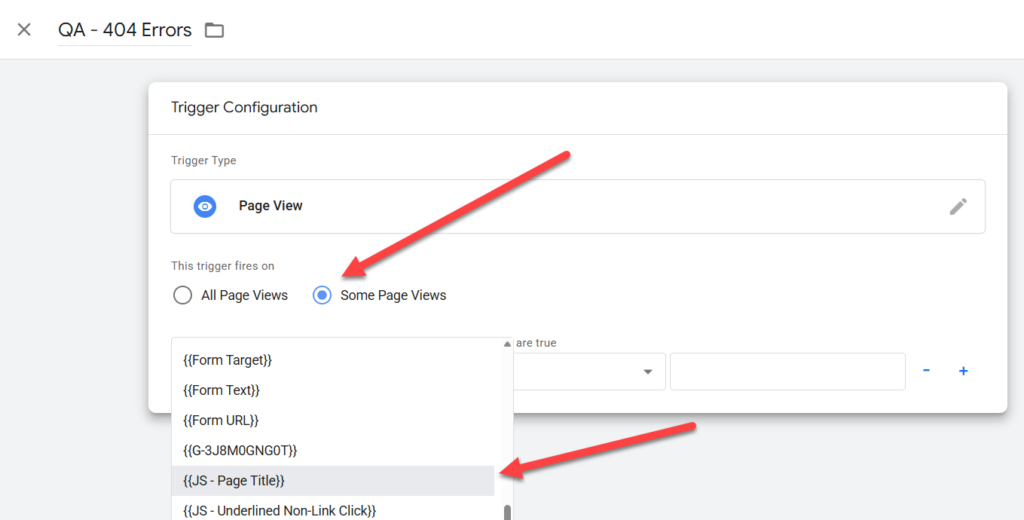
In the next screen, choose “Some Page Views”. Click on “Select Variable”, and select “{{JS – Page Title}}” from the dropdown.
Next, set the second dropdown to “equals”, and copy/paste the title text of your 404 page into the third field. In my case, it’s “Page not found – JLB Digital Consulting, LLC”.
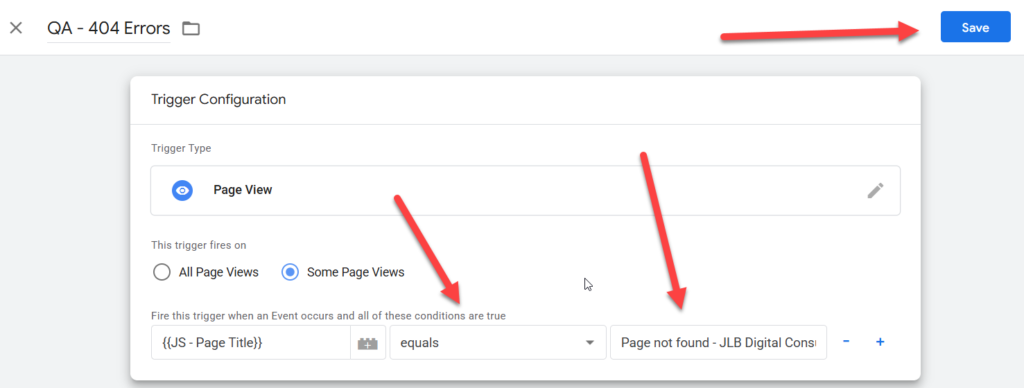
Click “Save”. We’re ready to build the tag.
Create The Tag
On the left-hand menu, click “Tags”. Then, click “New” on the right.

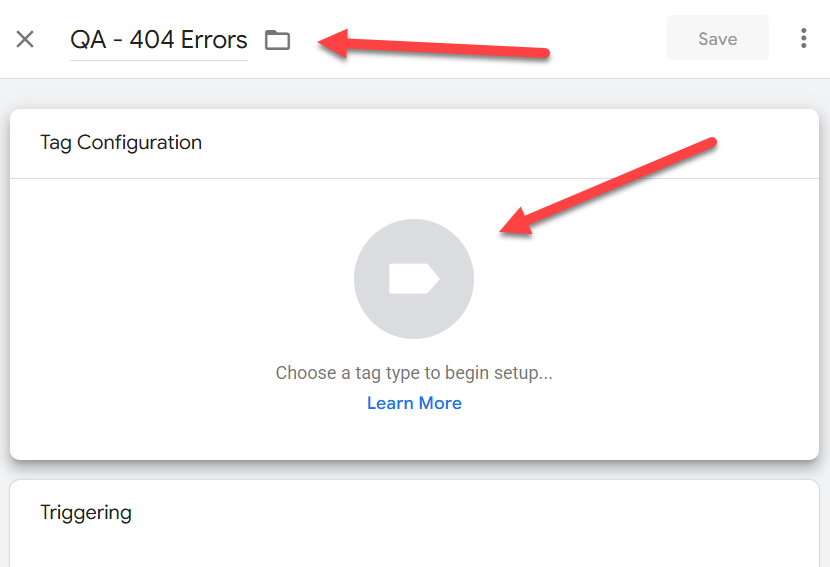
Name your tag “QA – 404 Errors” and click on the icon in the middle of the page.
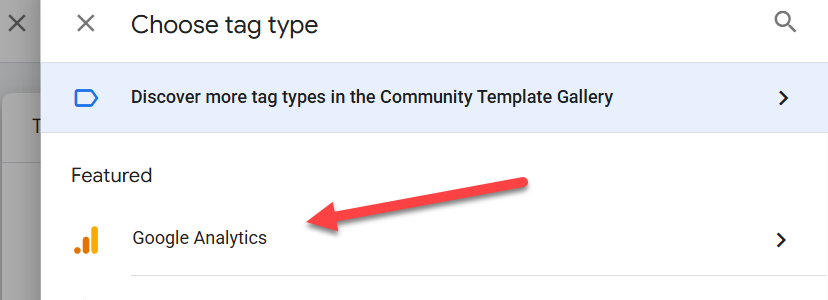
Choose “Google Analytics”.
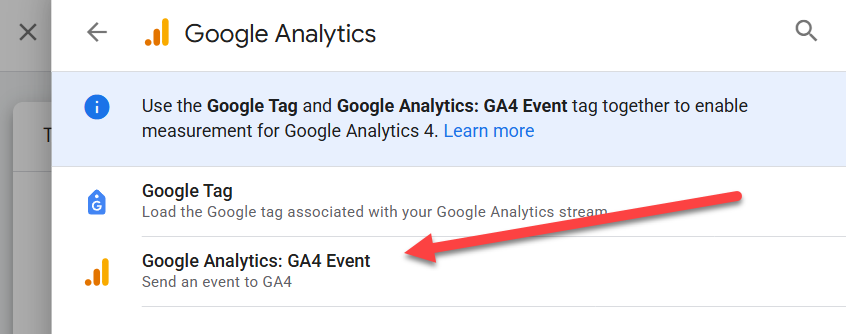
Then choose “Google Analytics: GA4 Event”.
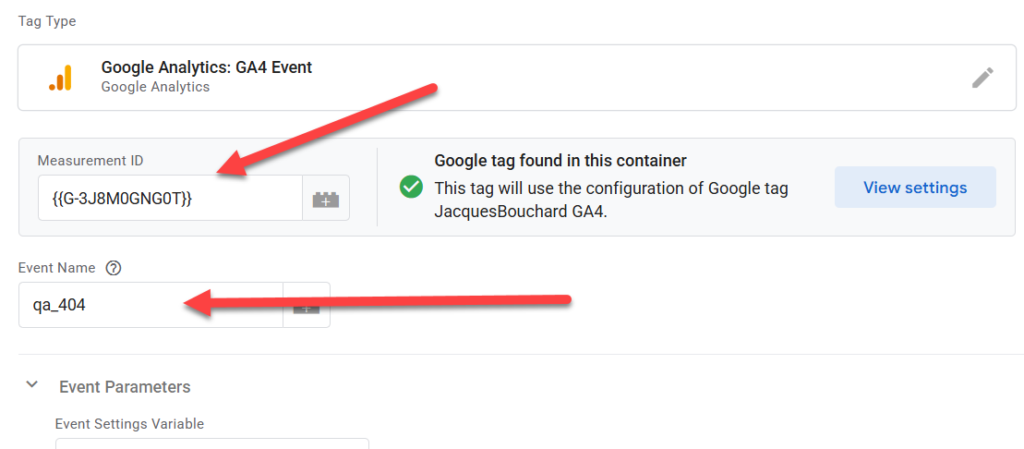
Next, set your Measurement ID. Then, set your Event Name to “qa_404”.
Click on “Add Parameter” twice to create two Event Parameter fields. Set the left-hand fields to “page_url” and “referral_url”.

Click on the gear icons to the right of the empty fields – a menu will appear. For “page_url”, choose “Page URL”. For “referral_url”, choose “Referrer”. It should look like this:

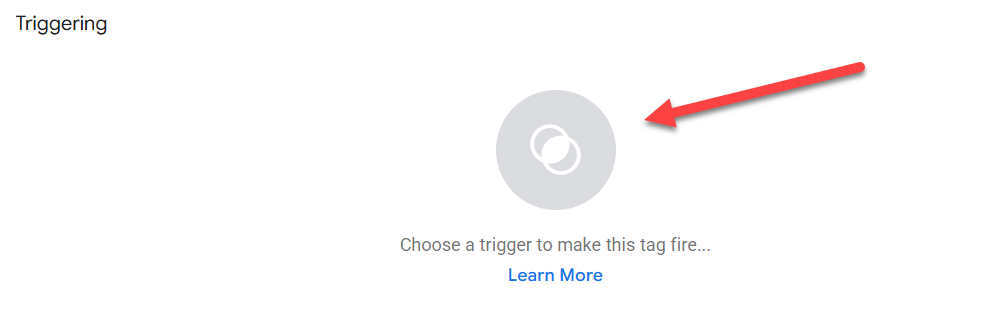
Scroll to the bottom of the page and click on the Venn Diagram icon under “Triggering”.
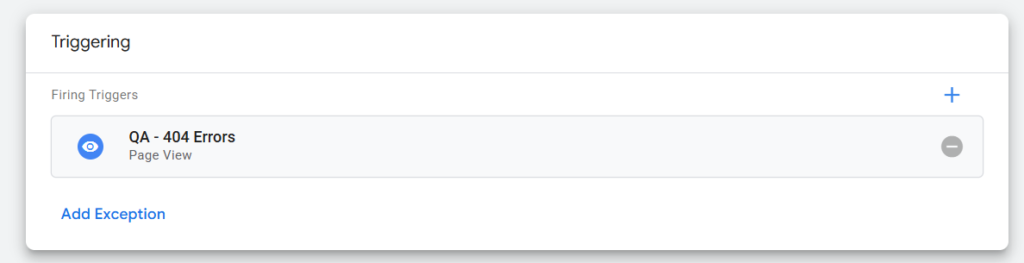
In the menu that appears, click on “QA – 404 Errors”. If you did it right, it should look like this:
Click Save, and your tag is good to go.
Testing And Publishing Your Setup
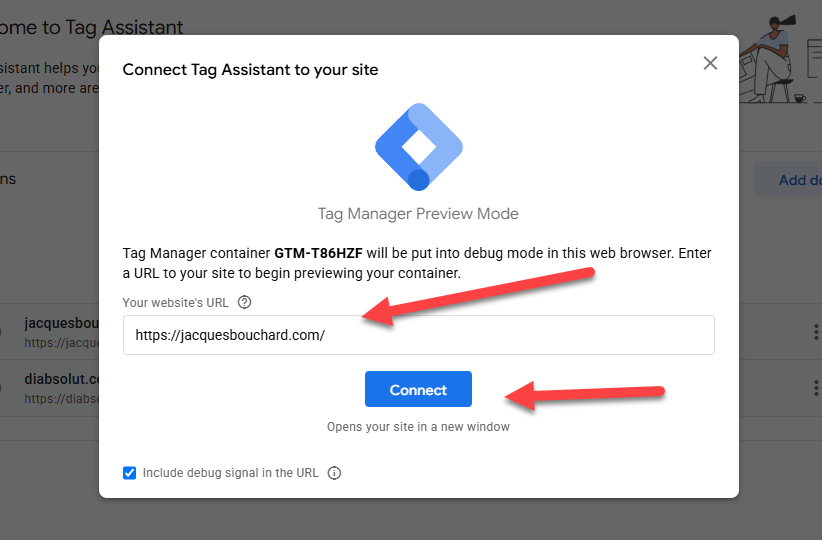
Before we publish this, let’s test it out. Click “Preview” in the top-right corner to launch GTM’s Preview mode.

A new tab will open in your browser. Enter the URL of your website into the next screen, and click “Connect”.
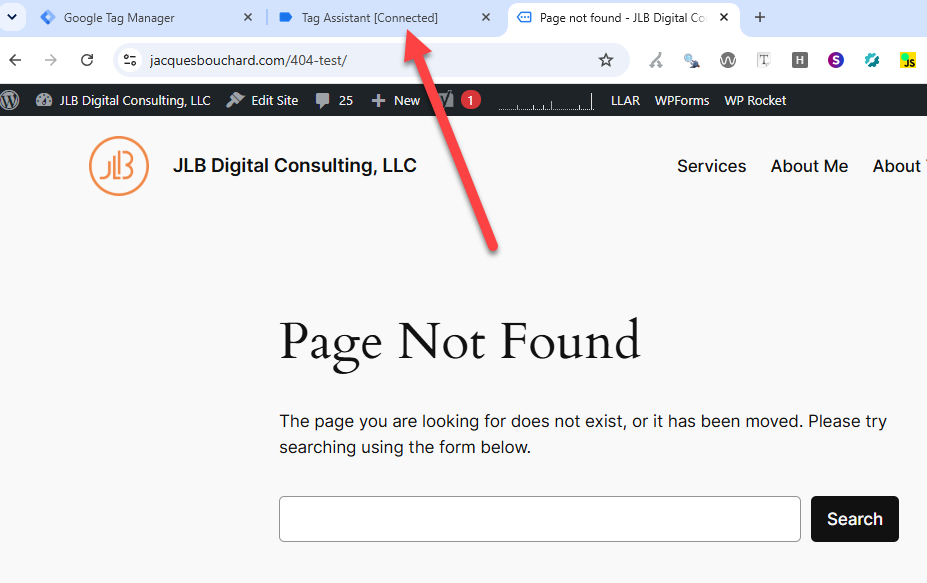
This will open a third browser tab, where your website will appear in a testing environment. From here, enter a URL for your website that is invalid, so you land on your 404 page. I’m going to use https://jacquesbouchard.com/404-test/.
Next, switch tabs to the second one.
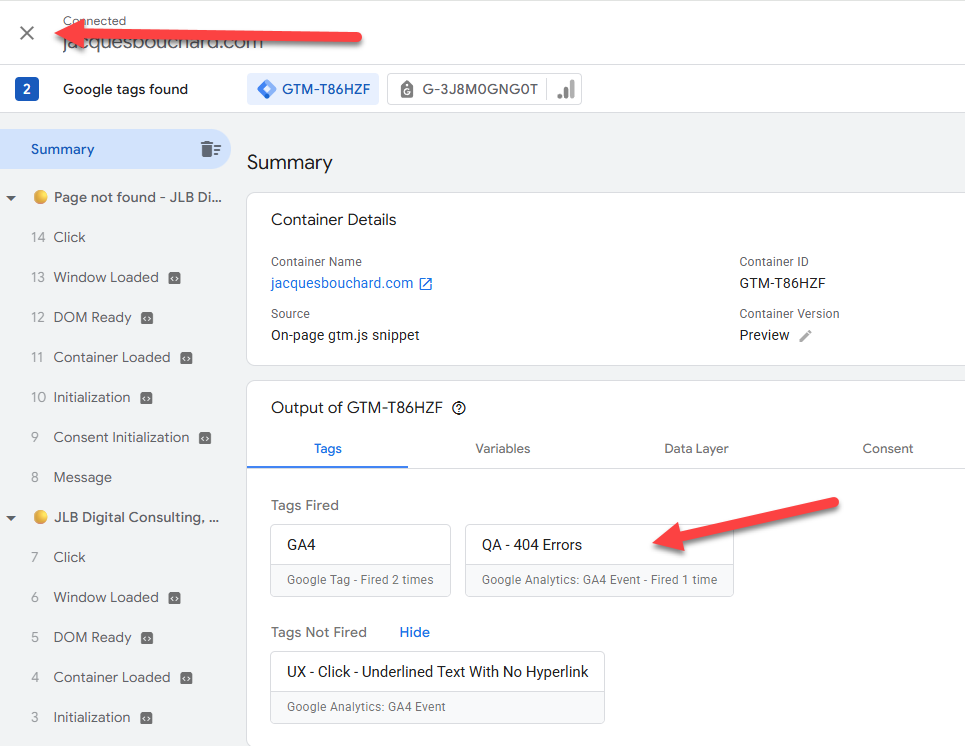
Click “Continue”, if you didn’t do so earlier. You should see “QA – 404 Errors” in the “Tags Fired” section of the summary. Once you confirm, click on the x on the top left, then “Stop Debugging” to end debug mode, and close the extra tabs.
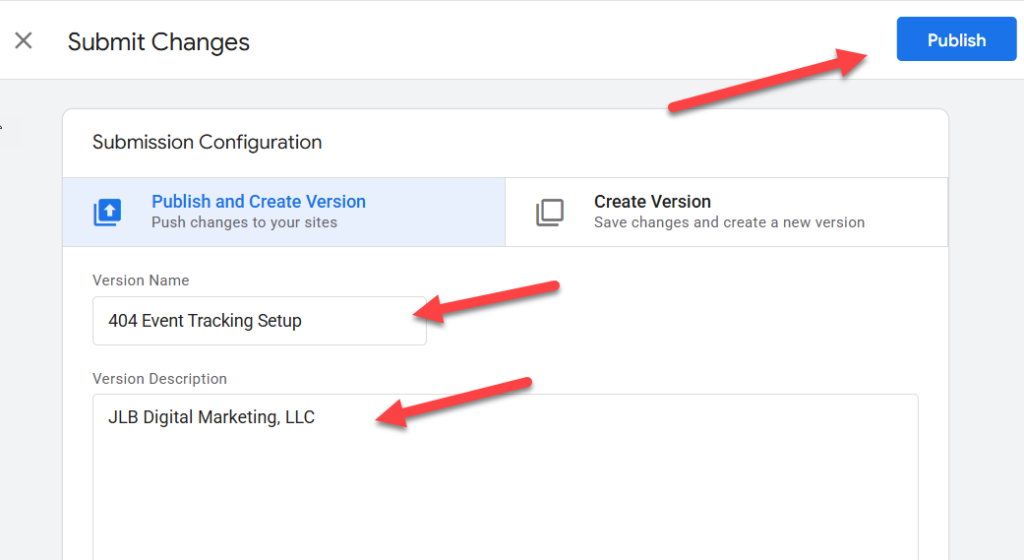
We’re ready to publish it. Click “Submit” on the right-hand side. Document your Version Name and Version Description, then click “Publish”.
Sing like no one is listening, and your tags are all set!
Step 2: Configure GA4
Before this is recording properly, you’ll still need to tweak a few things in GA4.
Create Custom Definitions
GTM is sending two event parameters to GA4 (page_url and referral_url), but GA4 doesn’t recognize them yet, so we’ll need to create custom definitions for them.
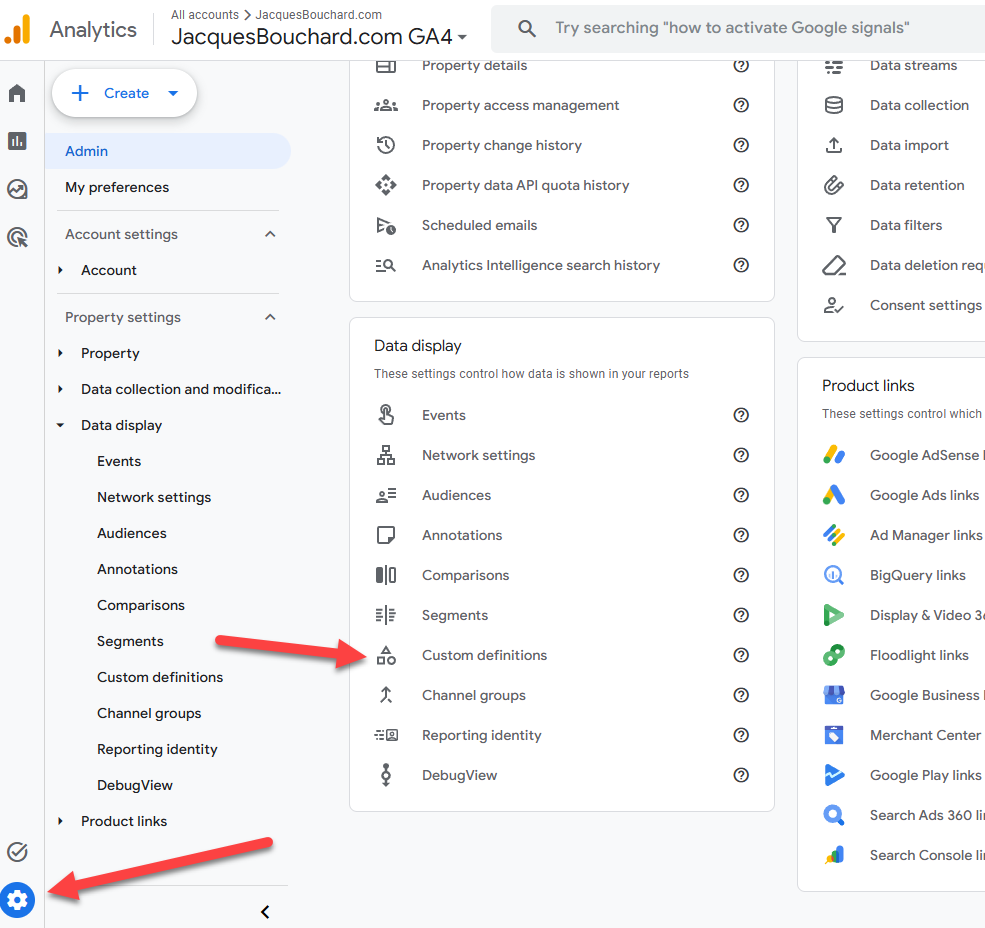
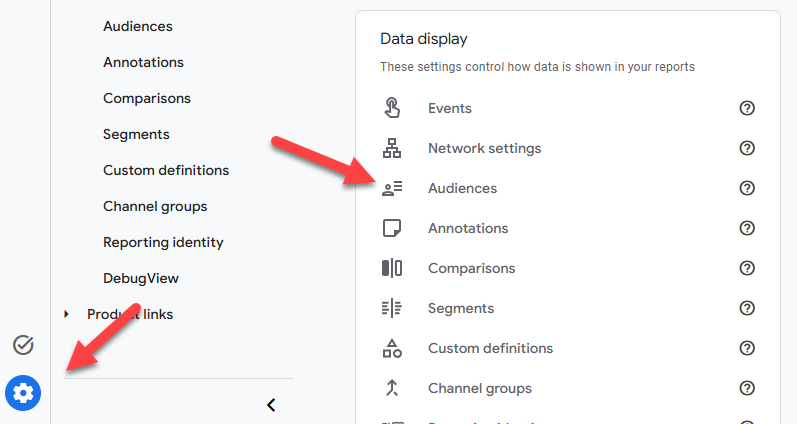
In GA4, click on the blue gear icon on the bottom left to access the admin section. Click “Custom Definitions”.
Click “Create custom dimension”.
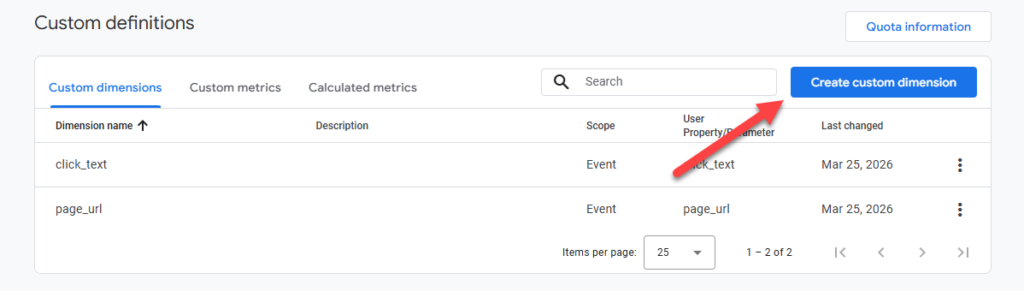
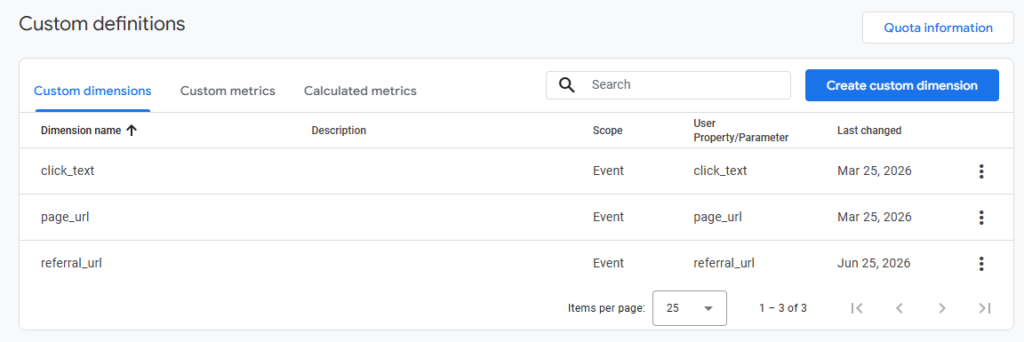
Enter in “referral_url” under “Dimension name” and “referral_url” under “Event Parameter”. Click “Save”.
Repeat the same process for “page_url”. Once done, it should look like this:
(Optional) Create A Custom Audience And Insight
Getting an email notification when 404 errors spike can be handy. It can indicate an issue with the website, an email blast with a bad link, a backlink from social or news sites that is not configured right, or any number of other concerns that are good to know about.
To set this up, we’ll need to create an Audience around the event, then build a Custom Insight for the Audience.
Creating An Audience
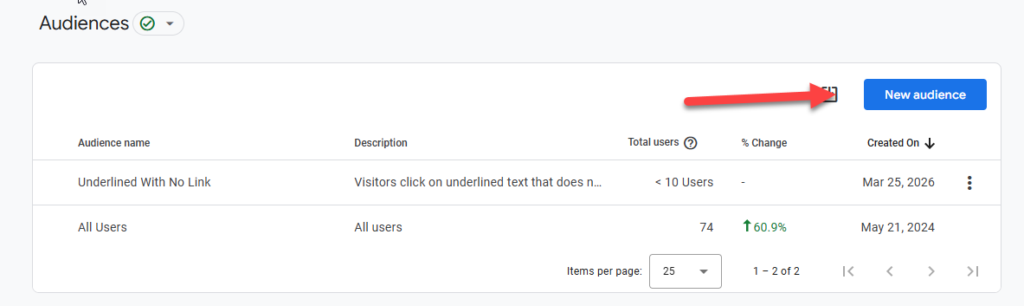
From the Admin menu in GA4, click “Audiences”.
Click “New Audience”
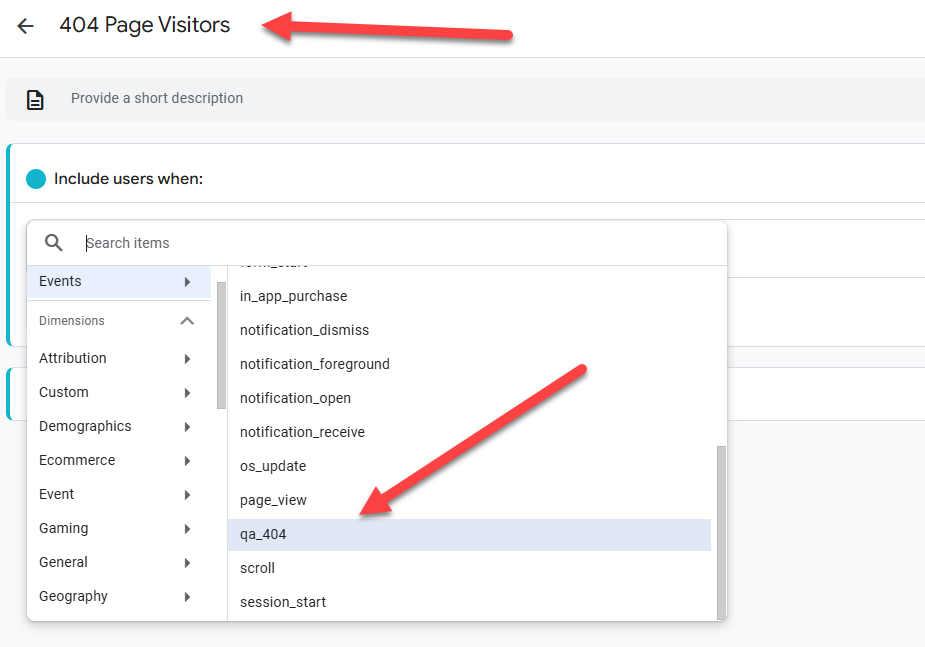
Click “Create a custom audience”, then name the Audience “404 Page Visitors”. In the drop-down menu, select “qa_404”, as shown below:
If you’ve configured everything correctly, you’ll probably see at least a few visits to your website already matching this audience in the bottom-right corner. Click “Save”.
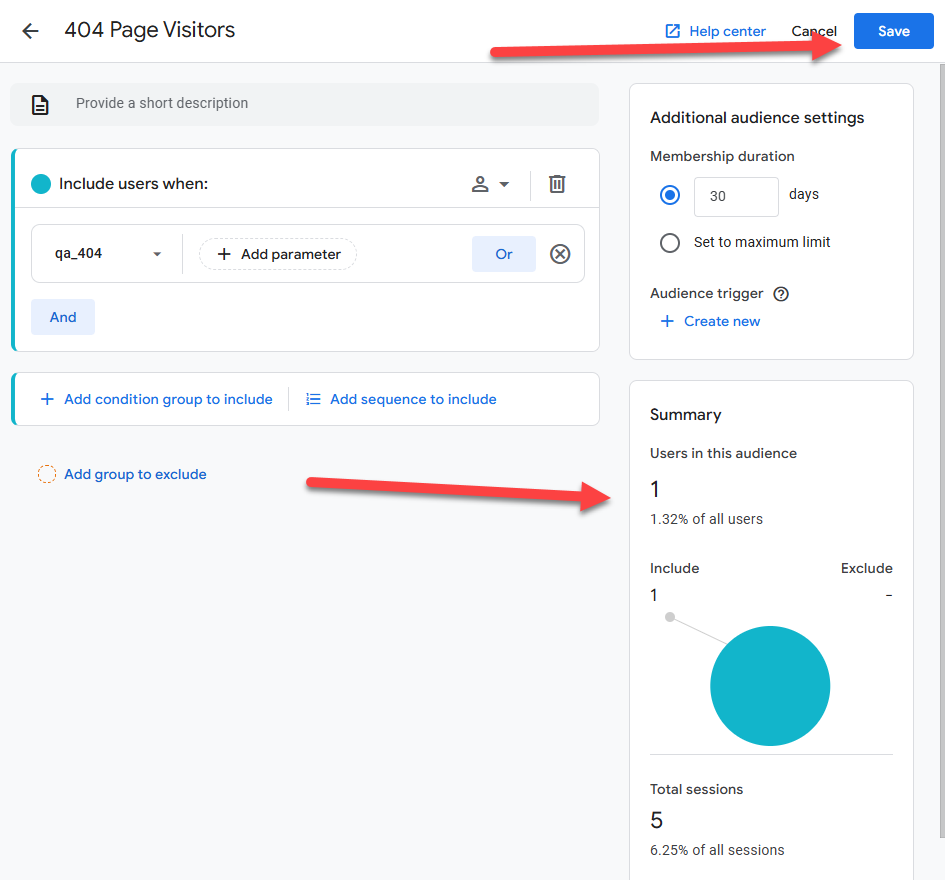
Audiences don’t apply retroactively, so this data will start reporting at the time you click “Save”. You’ll need to wait a bit for it to accumulate to become valuable for you.
Set Up Your Custom Insight
This is wild, but even though you just created the Audience, GA4 won’t know if it exists until you refresh your page. So let’s start by refreshing the page.
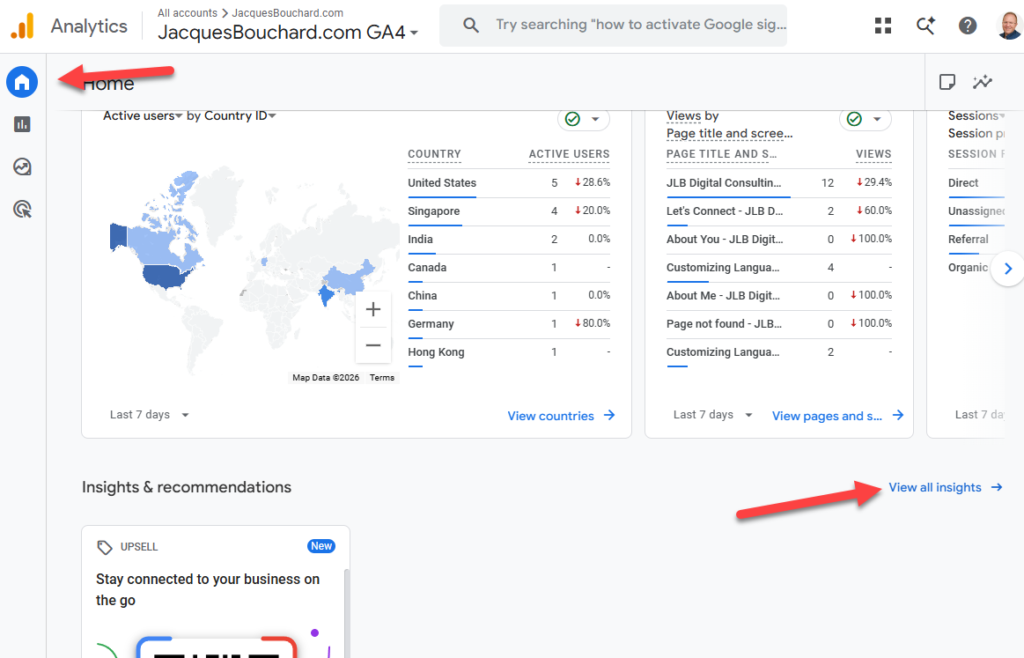
Next, click on Home on the left-hand menu, at the top. Then scroll down, and click “View all insights ->”.
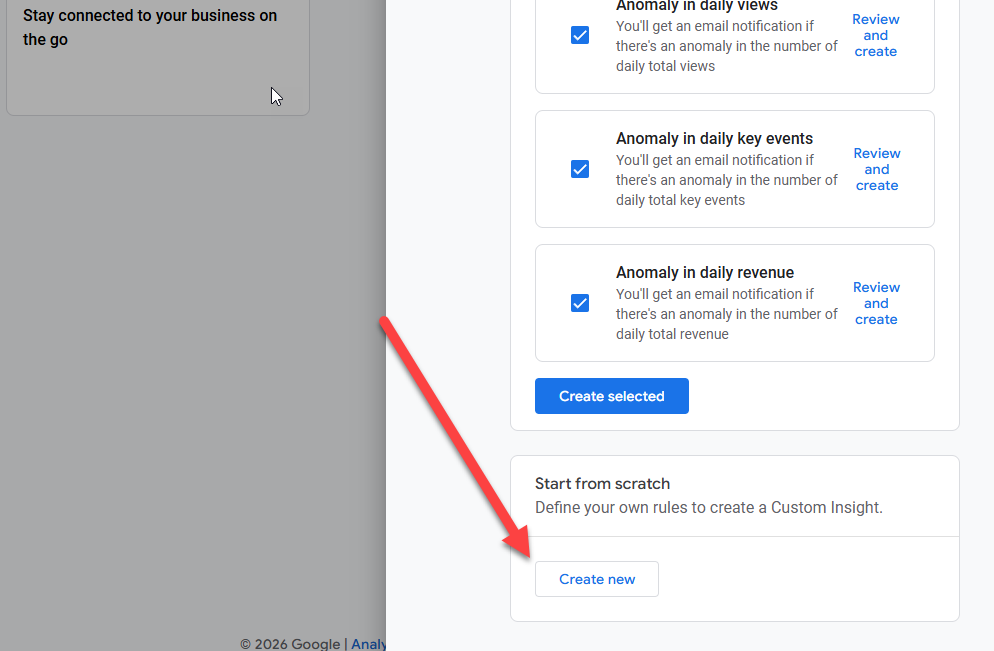
On the next screen, click “Create”, then scroll down, and click “Create New”.
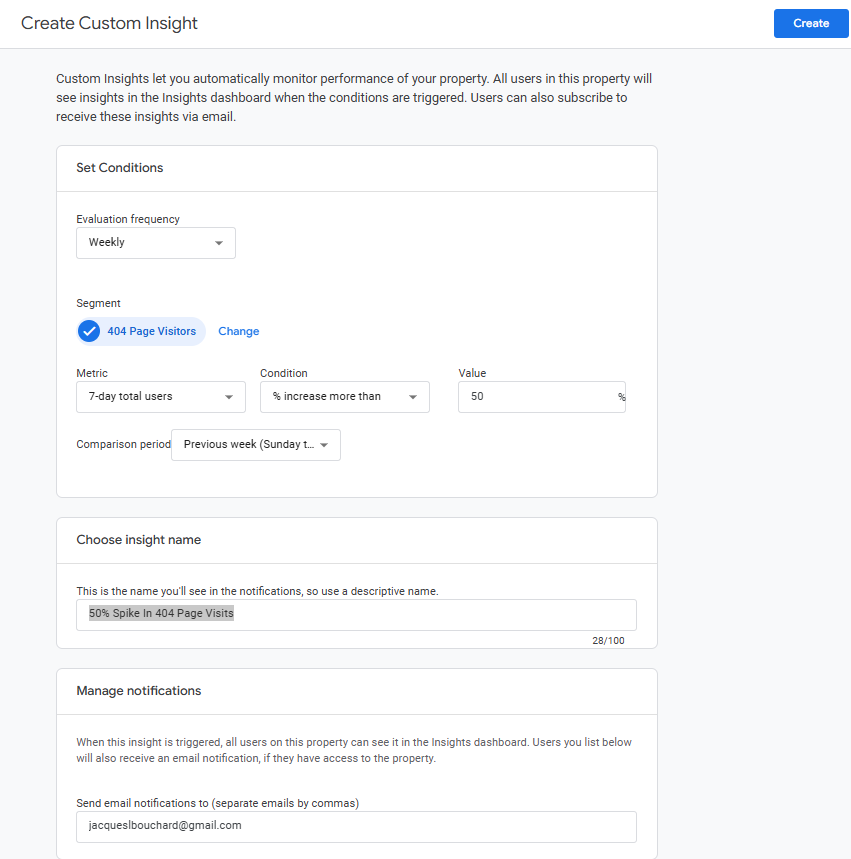
On the screen that appears, click “Change” under “Segment”. In the screen that appears, click on Value. Unselect “All Users” and select “404 Page Visitors”. Click “Apply”.

The notification settings you pick next will vary on your website and how many notification emails you and the team want to get. Here’s the settings I picked:
- Evaluation Frequency: Weekly
- Metric: 7-day total users
- Condition: % increase more than
- Value: 50
- Comparison period: Previous week
- Insight Name: 50% Spike In 404 Page Visits
I’m only sending this notification to myself. You could pick more than one email (provided the setting works – Custom Insights has been buggy for the past 6+ months).
Once you’ve got your settings the way you like them, click Create, and you’re done!
Step 3: Accessing The Data In GA4
Here’s how to use the data once you have it. (Note: It may take two or three days before GA4 begins displaying accurate data, so don’t be alarmed if you don’t see everything right away.)
In GA4, on the left-hand menu, click on Reports -> Business objectives -> View user engagement & retention -> Events. You should see something like the screenshot below:

Browse the events for “qa_404” and click on it.

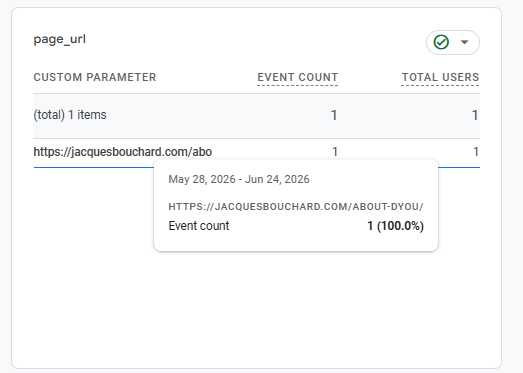
Scroll down on the page, and you’ll see the parameters you defined towards the bottom. Hover over them, and full URLs will be displayed.
…and that’s everything! Hope this is helpful for you. If you have any questions at all, be sure to reach out to me on LinkedIn or leave it in the comments. Happy analyzing!
Leave a Reply